Creating Your Virtual Machine
The lectures, instructions, and projects for this course are designed for the Linux operating system (Ubuntu 22.04 LTS Linux, to be precise -- there are many flavors/versions!).
Rather than replace Windows or Mac OS X on your computer, it will be easier to rent a virtual machine (VM) in the cloud, which you will then connect to remotely. Knowing how to create virtual machines is an important data-science skill because it makes your analysis more reproducible -- if your code works in your virtual machine, and other people know how to reconstruct a similar virtual machine for themselves (with the same operating system and programs installed), they're more likely to be able to reproduce the same results by running your code.
At the low-end, renting a VM costs about $10-20/month. Fortunately, the major cloud providers often provide free credit for students and new users, so you'll likely pay little or (hopefully) nothing this semester.
We provide directions for two major cloud providers: GCP (Google's cloud) and Azure (Microsoft's cloud). If you want to find another way/place to use Ubuntu 22.04 LTS and install Jupyter, that's fine too. But we will only support the first two options during office hours. Even if you are planning to use your own Ubuntu machine, we recommend you to set up the virtual machine.
Follow the GCP Directions for the rest of this lab to set up your virtual machine. Google gave me educational credits ($50/student) to use for CS 320, which should cover you.
Backup option (future directions if you even run out of GCP credits - not needed for now): Azure Directions. At the time these directions were written, Microsoft offers students $100/year of credit per year. These directions might be a bit stale.
Note: How to Stop and Start your VM
Important: Before you begin this process, make sure to save all your progress by pushing it to your Git repository. If you are unsure how to do this, refer to the git-workflows document for guidance.
Throughout the semester, you might run out of RAM on your VM. RAM (Random Access Memory) is different from the persistent storage (disk space) on your VM, which is much larger. RAM is the memory used to run programs and handle active processes on your VM, while storage is where files and data are saved permanently.
Running out of RAM can happen for multiple reasons, such as running large programs or running them for extended periods, as they can accumulate data in memory. In our case, the most common reason for running out of RAM is Jupyter Notebook. While it is constantly running to maintain the SSH tunnel to your browser, it accumulates a large amount of metadata, which can consume significant memory over time.
To check how much memory (RAM) you have left on your VM, run the command htop in the terminal. You will see an output similar to this:
 At the top, look for the bar labeled "Mem". If you notice this bar is nearly full, it might be a good time to stop and restart your VM. In the example above, the memory usage is almost at its limit.
Note: Stopping your VM will terminate all processes running on it. If you have active processes, stopping the VM could result in data loss or corruption. Make sure to save your work before proceeding.
Steps to Stop and Resume Your VM
- Open your browser and go to Google Cloud > Console > Compute Engine > VM Instances.
- Locate your VM under "VM Instances."
 3. Click on the three vertical dots next to your VM.
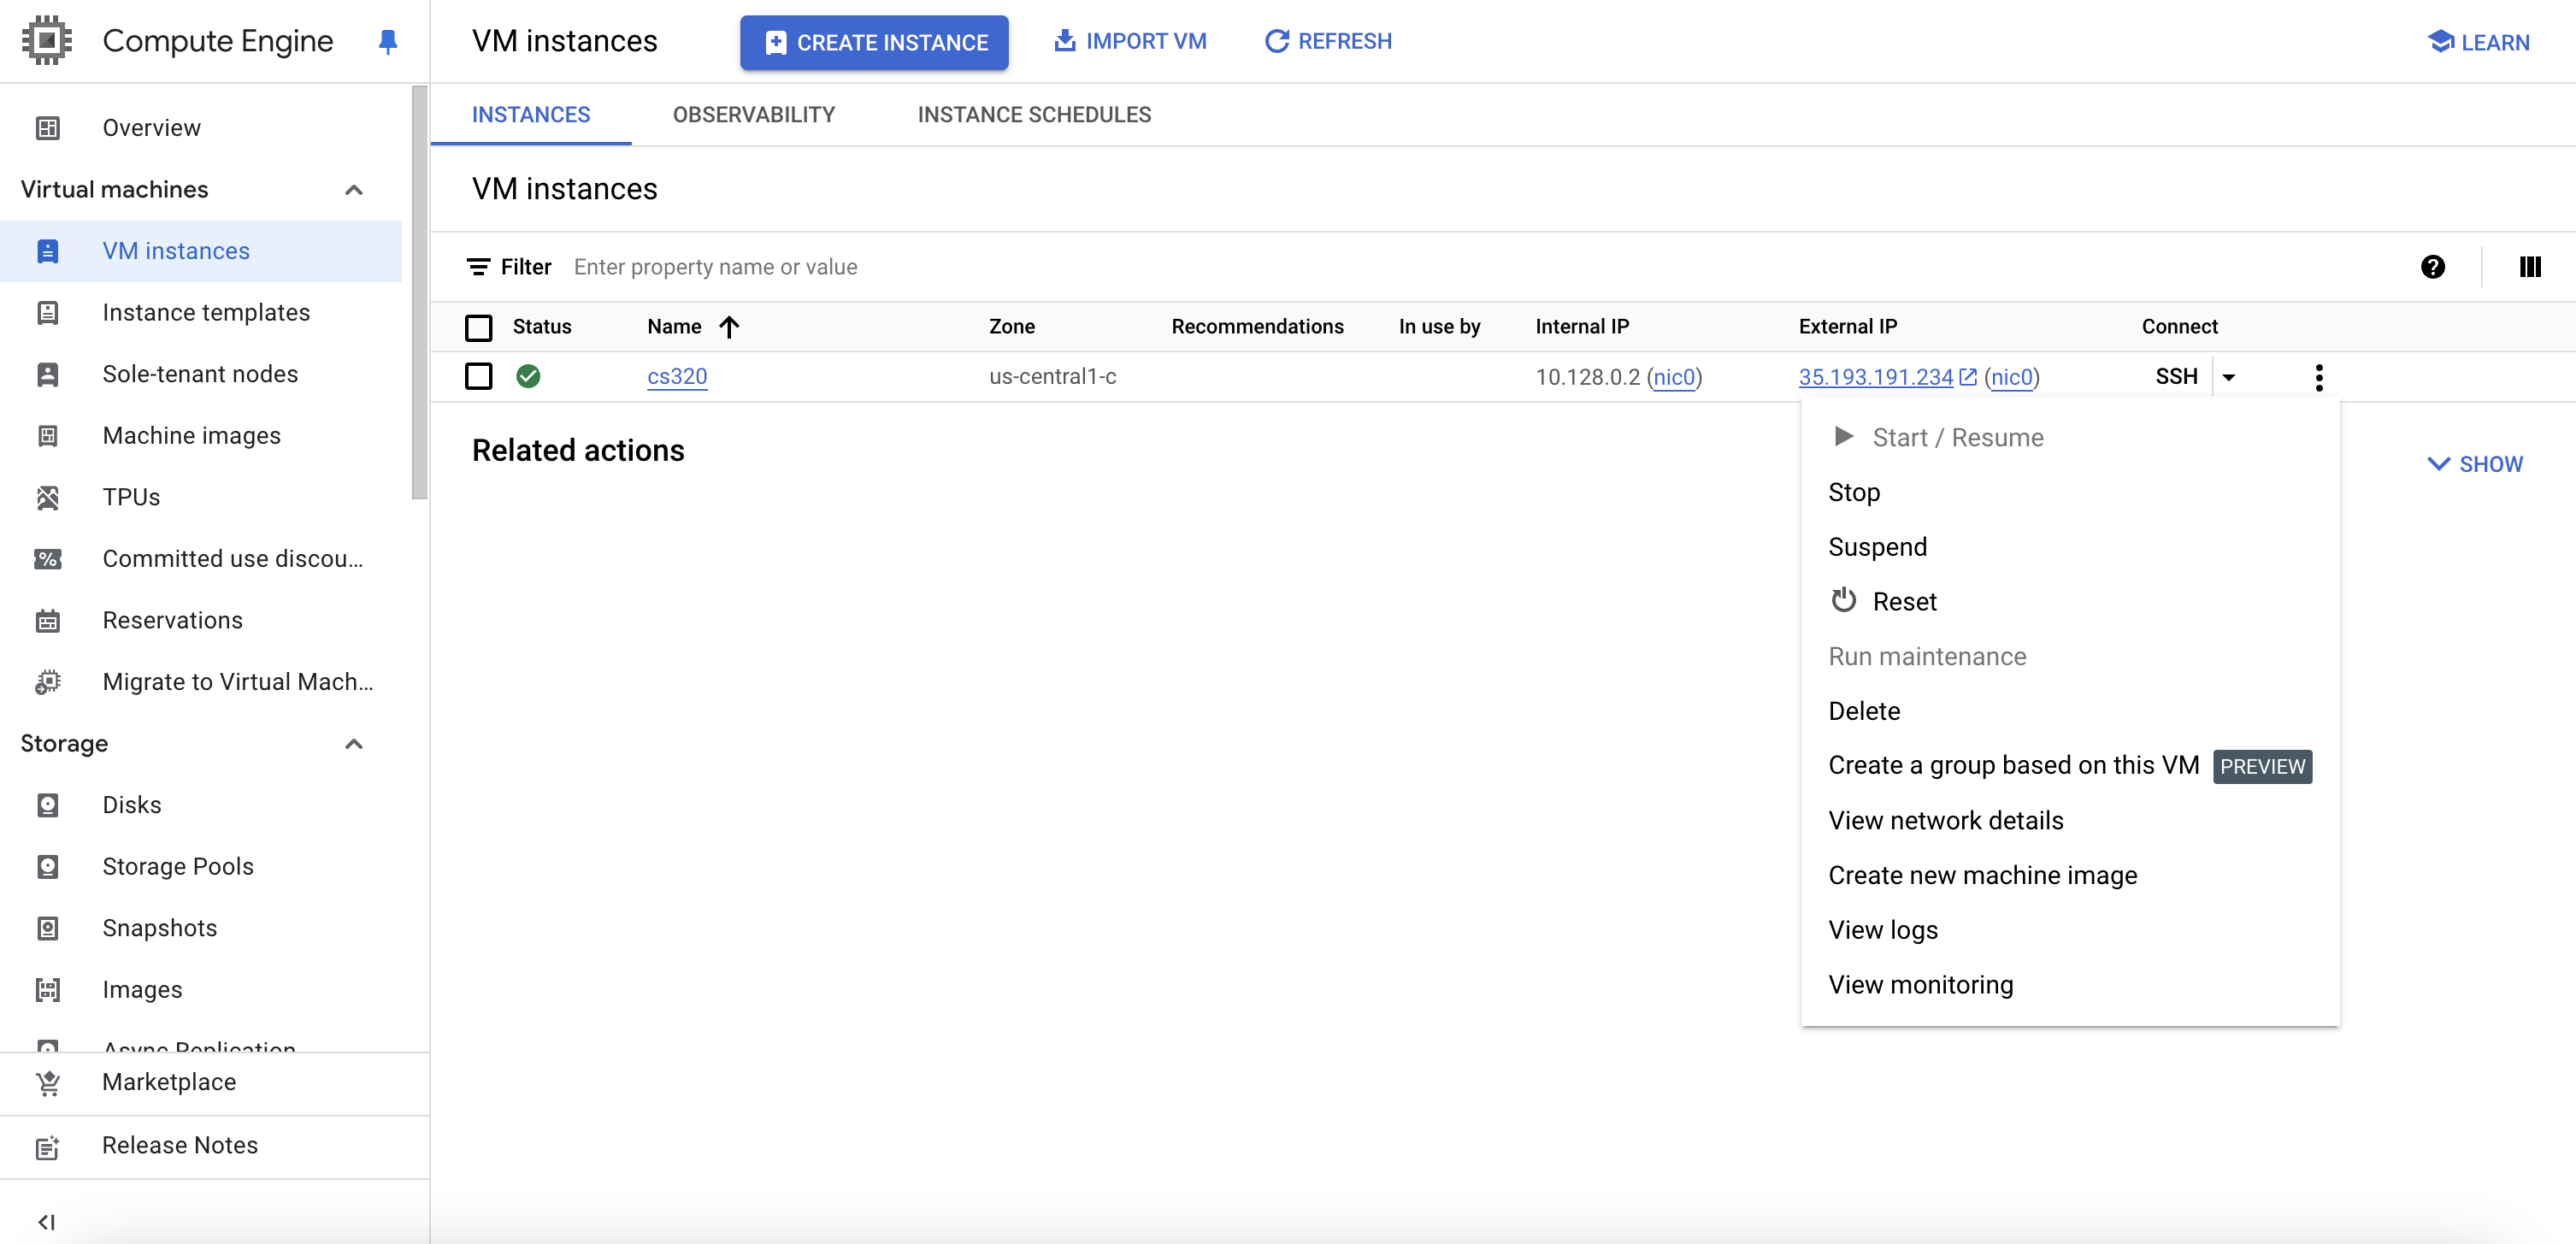 4. Select **"Stop"** from the dropdown menu.
5. You will see a warning about potential data loss. Confirm by clicking **"Stop"** again.
4. Select **"Stop"** from the dropdown menu.
5. You will see a warning about potential data loss. Confirm by clicking **"Stop"** again.
Wait a few minutes for your VM to shut down. You can monitor its status under the "Status" column. Once it shows Stopped:

- Click on the three vertical dots again and select "Start/Resume."
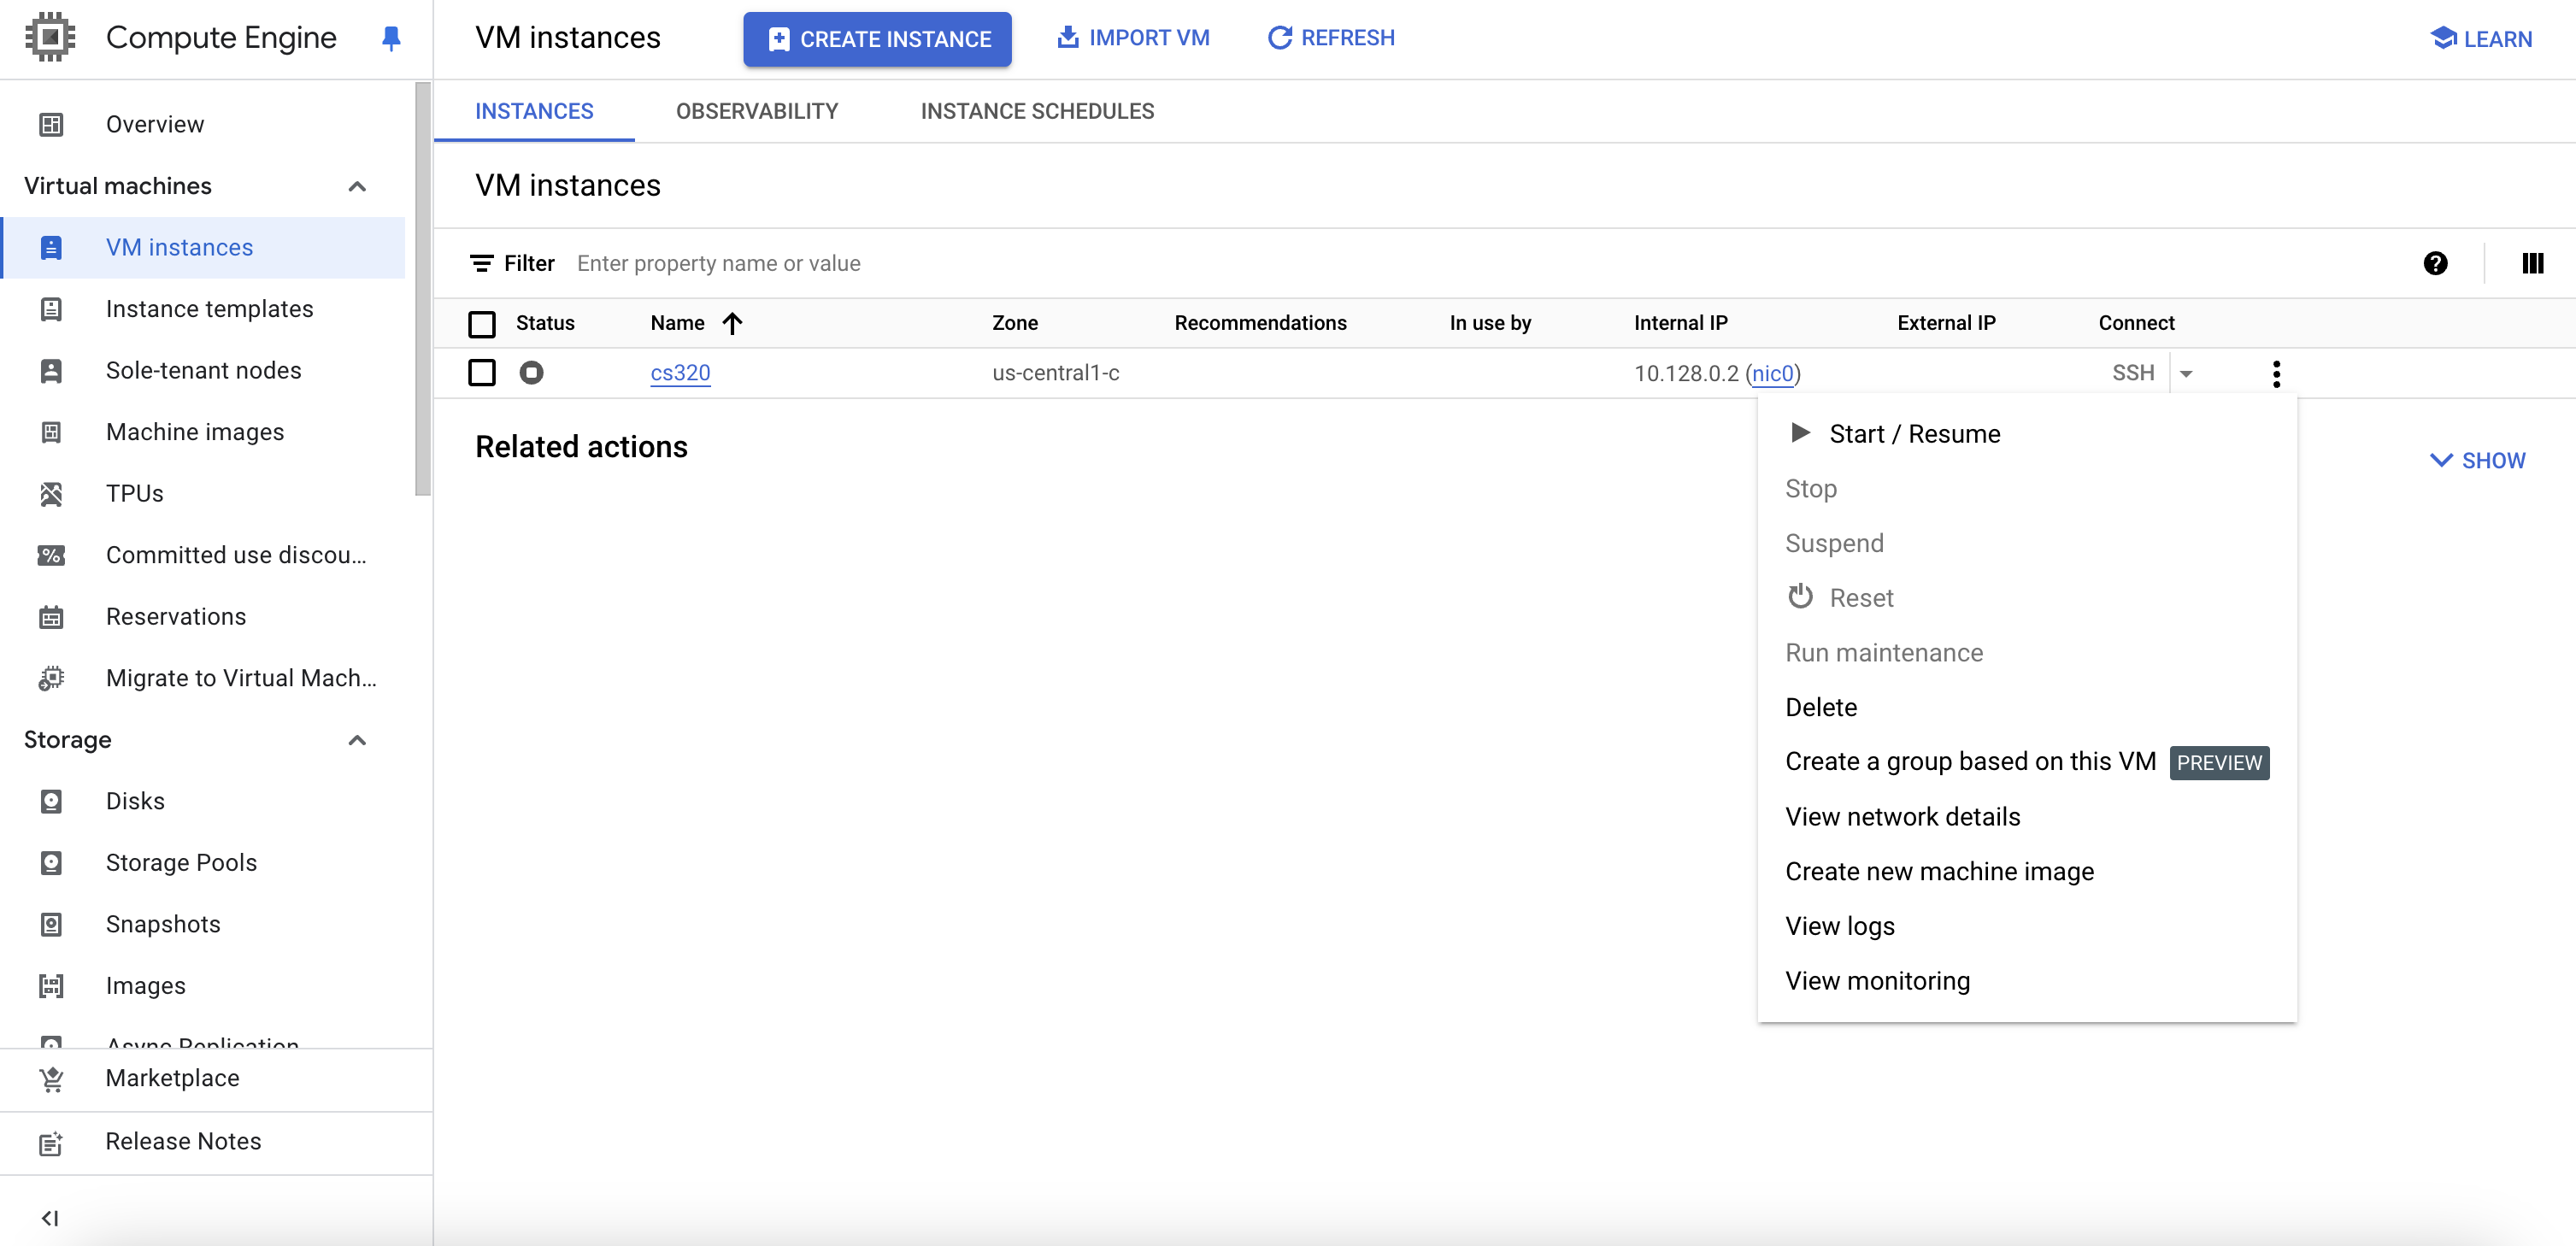
Note: After restarting, your VM will have a new external IP address. You will need this updated IP to SSH into your VM.
Reconnecting and Restarting JupyterLab
Once your VM is running again:
- SSH into your VM using the new external IP.
- Run the following commands to restart JupyterLab:
python3 -m jupyterlab passwordnohup python3 -m jupyterlab --no-browser --ip=0.0.0.0 --port=2020 &- Open your browser and use the new IP address to access JupyterLab.